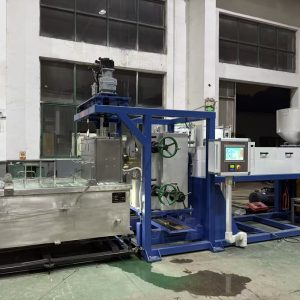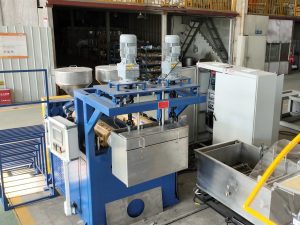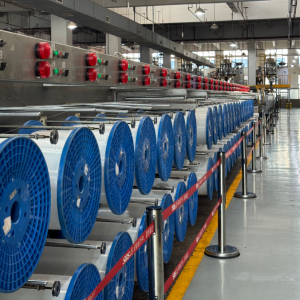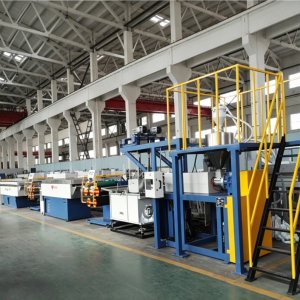
When a filament line is unstable, you don’t just “get bad filament.” You get scrap, frequent breaks, inconsistent packages, and a lot of guessing across shifts.
A continuous filament extrusion process is the manufacturing system that turns polymer resin into a continuous strand (often monofilament) while keeping three things under control:
Geometry: filament diameter control (diameter and roundness/ovality)
Properties: strength, elongation, stiffness, shrinkage behavior
Stability: uptime, break frequency, consistent winding
This article defines the process in plain terms, then shows the key control points that decide whether the line runs clean.
A clear definition (and what “continuous” really means)
A continuous filament extrusion process is a continuous production method where thermoplastic resin (pellets/granules) is melted, pushed through a die to form a strand, cooled to lock its shape, stretched to set properties, heat-set to stabilize shrinkage, and wound for downstream use.
“Continuous” means the line is designed to run at steady state for long periods, not in discrete batches. In practice, continuous production is less about “running faster” and more about holding stable melt delivery, cooling, and tension so the output doesn’t drift.
Monofilament vs multifilament (quick clarification)
Monofilament: one solid strand (commonly used for zippers, brushes, fishing net yarns, industrial netting, reinforcing fibers).
Multifilament: many fine strands bundled together (more like textile yarn systems).
The equipment architecture overlaps, but a monofilament line is usually tuned around diameter/roundness control and package stability.
Where the extrusion process ends—and drawing begins
In day-to-day plant talk, people often say “extrusion” when they mean the entire line. Technically:
Extrusion is the melt-delivery job: feed → melt → homogenize → build pressure → push melt through the die.
Drawing (orientation) is the stretching job: controlled speed ratios (godets) and heating zones align polymer chains to hit the target mechanical behavior. This is often referred to as filament drawing.
Why this distinction matters: if diameter drifts or breaks increase, the fix is usually not “turn the draw ratio knob.” You’ll get more predictable results when you troubleshoot in a consistent order.
For a deeper explanation, see NLY’s guide on the difference between extrusion and drawing.
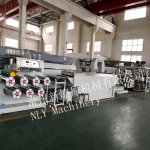
The continuous filament extrusion process, step by step
Below is the common process chain for continuous filament production. Exact equipment and settings depend on polymer (PA/PET/PP/PE), diameter range, and required properties.
1) Material conditioning (drying + stable feeding)
Some polymers (especially nylon/PA and PET) are moisture sensitive. If moisture gets into the melt, it can show up as bubbles/voids, unstable flow, and weak spots.
At this stage, the goal is simple: keep resin condition and feed rate consistent so viscosity and throughput don’t swing across the shift.
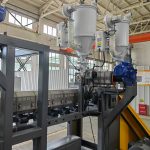
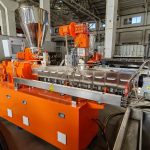
2) Extruder + melt delivery (make the die see a stable melt)
The extruder’s job is easy to describe and hard to execute: deliver a clean, uniform melt at stable pressure and temperature.
Common hardware in this zone includes:
Single-screw extruder (melting, mixing, pressurizing)
Melt filtration (screen pack) to remove contamination
Metering (often a melt pump/gear pump on some lines) to reduce pulsation and stabilize throughput
A useful stage breakdown (drying → extrusion → metering/pack → quench → drawing → annealing → winding) is described in PLASCO’s Monofilament Extrusion Process.
3) Die / spinneret (form the initial strand)
The die forms the initial shape and sets the first “starting point” for diameter. But in many practical monofilament systems, final diameter control is strongly influenced downstream by cooling and draw balance.
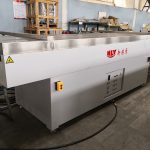
4) Quench water bath (lock in geometry)
The quench stage is where geometry becomes real.
If cooling is uneven or the strand path is inconsistent, you can “bake in” ovality and create tension swings that show up later as breaks or unstable winding.
NLY explains the system view (and why quench stability matters) in their plastic monofilament extrusion line overview.
5) Drying / aspiration (remove surface water)
After the quench bath, the strand is usually dried to prevent water carryover into heated draw zones and to keep traction consistent on rollers.
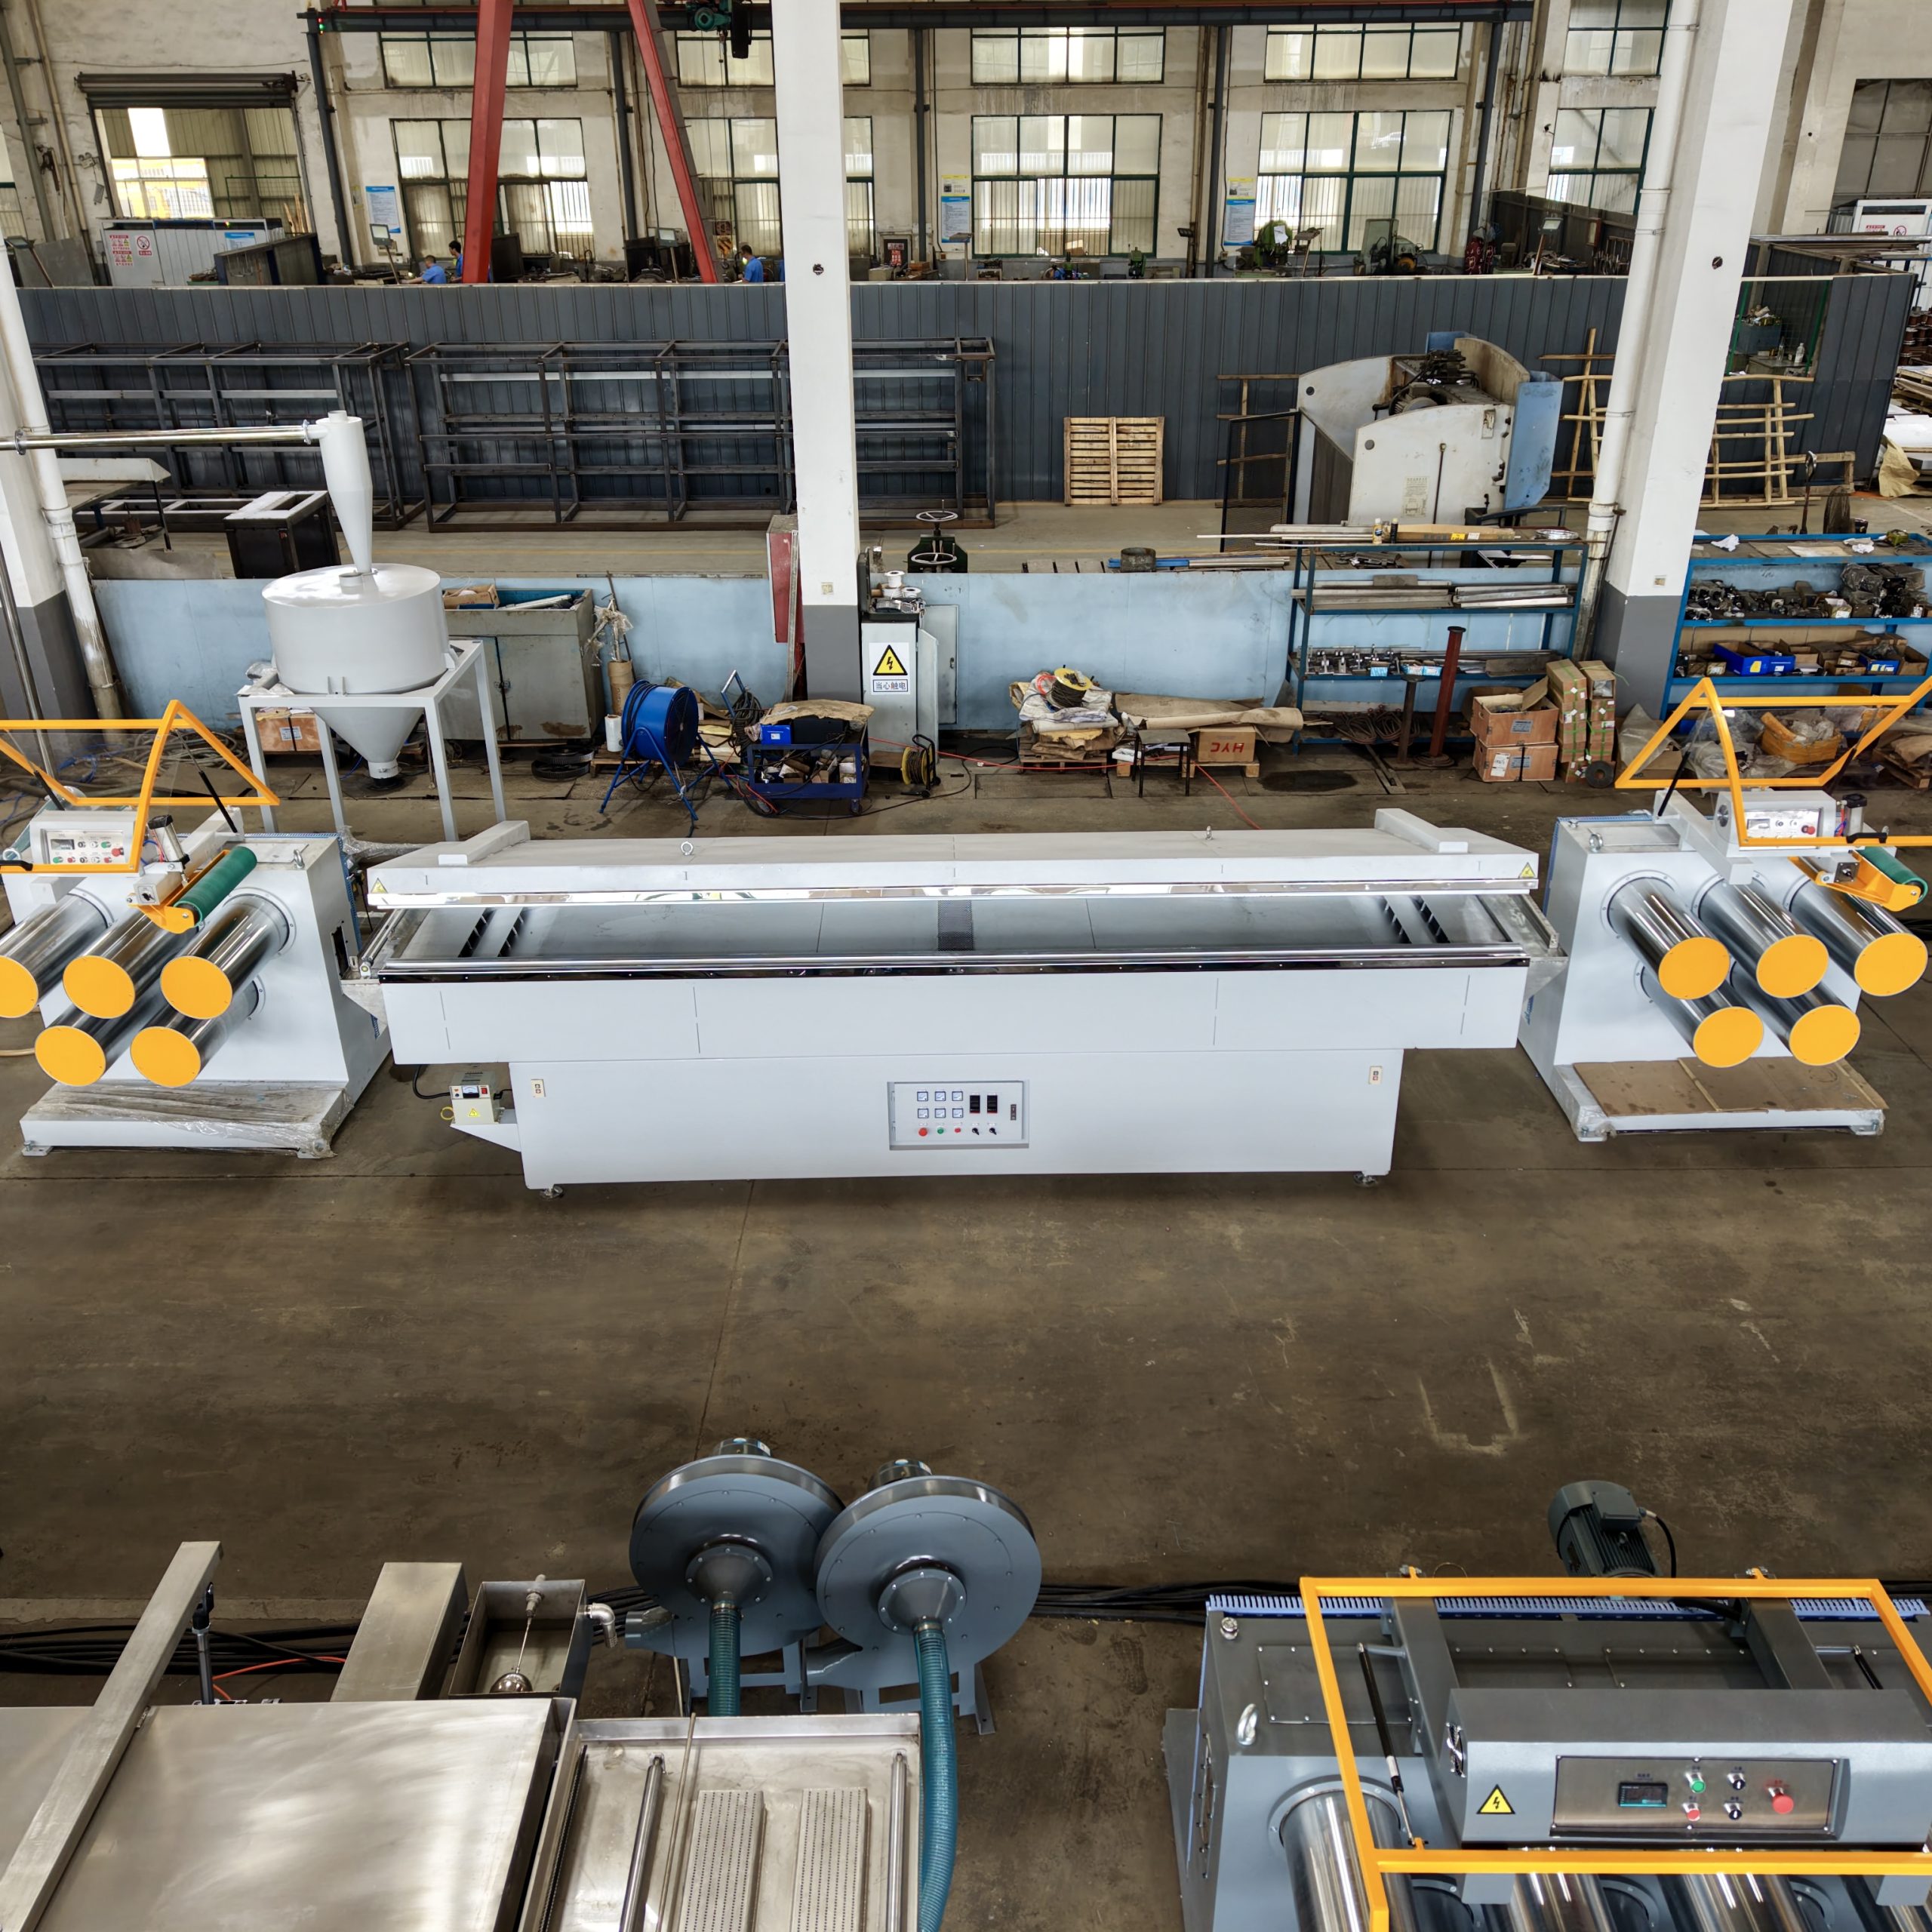
6) Filament drawing (orientation) with godets + heating zones
Drawing is controlled stretching. Typically, a downstream roller set runs faster than the upstream roller set, and the speed ratio defines the draw.
As one basic equipment overview notes, many lines use godet rolls and ovens, and may include a gear pump for stable melt flow and a laser micrometer for online diameter monitoring (IndustrialExtrusionMachinery monofilament overview).
7) Heat-setting / annealing (stabilize shrinkage)
Heat-setting (often under controlled tension) reduces internal stress so the filament doesn’t “change its mind” later—showing up as unpredictable shrinkage, curl, or property drift.
8) Winding (package build under controlled tension)
Winding is not just “collecting filament.” It’s a tension-control problem: build a stable package without telescoping, loose edges, flattening, or hardness variation.
When winding is unstable, the root cause is often upstream (melt delivery drift, quench instability, draw-zone temperature issues), not the winder itself.
The five stability loops that decide whether your line runs clean
A practical way to understand a monofilament line is as five coupled stability loops:
Melt delivery stability (temperature and pressure trends, not just setpoints)
Geometry lock-in (die + quench symmetry)
Orientation stability (draw ratio + temperature window + traction)
Stress control (heat-setting/annealing)
Tension + package control (winding)
NLY summarizes this “stability loop” thinking and includes a useful quench checklist in their article. (If you want the full breakdown, see the NLY post titled “Plastic Monofilament Extrusion Line: What It Is and How It Works.”)
Pro Tip: When output drifts, watch trends—especially melt pressure trend and quench temperature stability. A stable controller number doesn’t always mean a stable process.
Common problems and the first place to check
You can waste a lot of time tuning downstream settings if the upstream input is drifting. Here’s a simple starting map.
Diameter drift over time
Start checks:
Melt pressure/temperature behavior (stability, cycling)
Feeding consistency (bridging, segregation, moisture swings)
Quench temperature and water level stability
Speed synchronization across draw stages
Ovality (out-of-round)
Start checks:
Quench symmetry (water flow pattern, turbulence near the strand)
Strand path alignment and consistent entry height/angle
Submerged guides/rollers condition (scale, roughness, sticking)
Bubbles, voids, surface splay
Start checks:
Resin drying and handling discipline (especially for PA/PET)
Signs of polymer degradation (overheating, long residence time)
Melt filtration and contamination control
If you want a deeper, zone-by-zone approach to stability under higher output, NLY’s guide on increasing monofilament line output without losing stability is a useful framework.
Questions to ask a supplier (or your own team) before you change settings
If you write these down first, you cut most of the guesswork:
Polymer and conditioning: What resin (PA/PET/PP/PE)? Virgin vs recycled? What drying method and targets?
Spec: What diameter range, tolerance, and ovality limit do you actually need?
Output target: What kg/h and line speed do you need at steady state?
Top scrap drivers: Ovality, bubbles, surface marks, breaks, property drift—what’s the main failure mode today?
Control plan: Where will you measure diameter (online/offline), and what’s the adjustment logic (melt delivery vs quench vs draw vs winding)?
These inputs determine whether the “best setting” is even in the window for your product.
Next steps
If you’re evaluating a new line or trying to stabilize an existing one, a good first step is to define your one-page “process window”:
Polymer(s) (and whether recycled content is planned)
Target diameter range + tolerance
Target output (kg/h)
Top defects you must eliminate
If you want help translating that into a practical line layout and a commissioning/trial plan, Changzhou New Liaoyuan Machinery (NLY) can review your requirements and propose a configuration plus a run sample/FAT plan based on your material and target spec. Start with the monofilament extrusion process overview and share your key inputs.