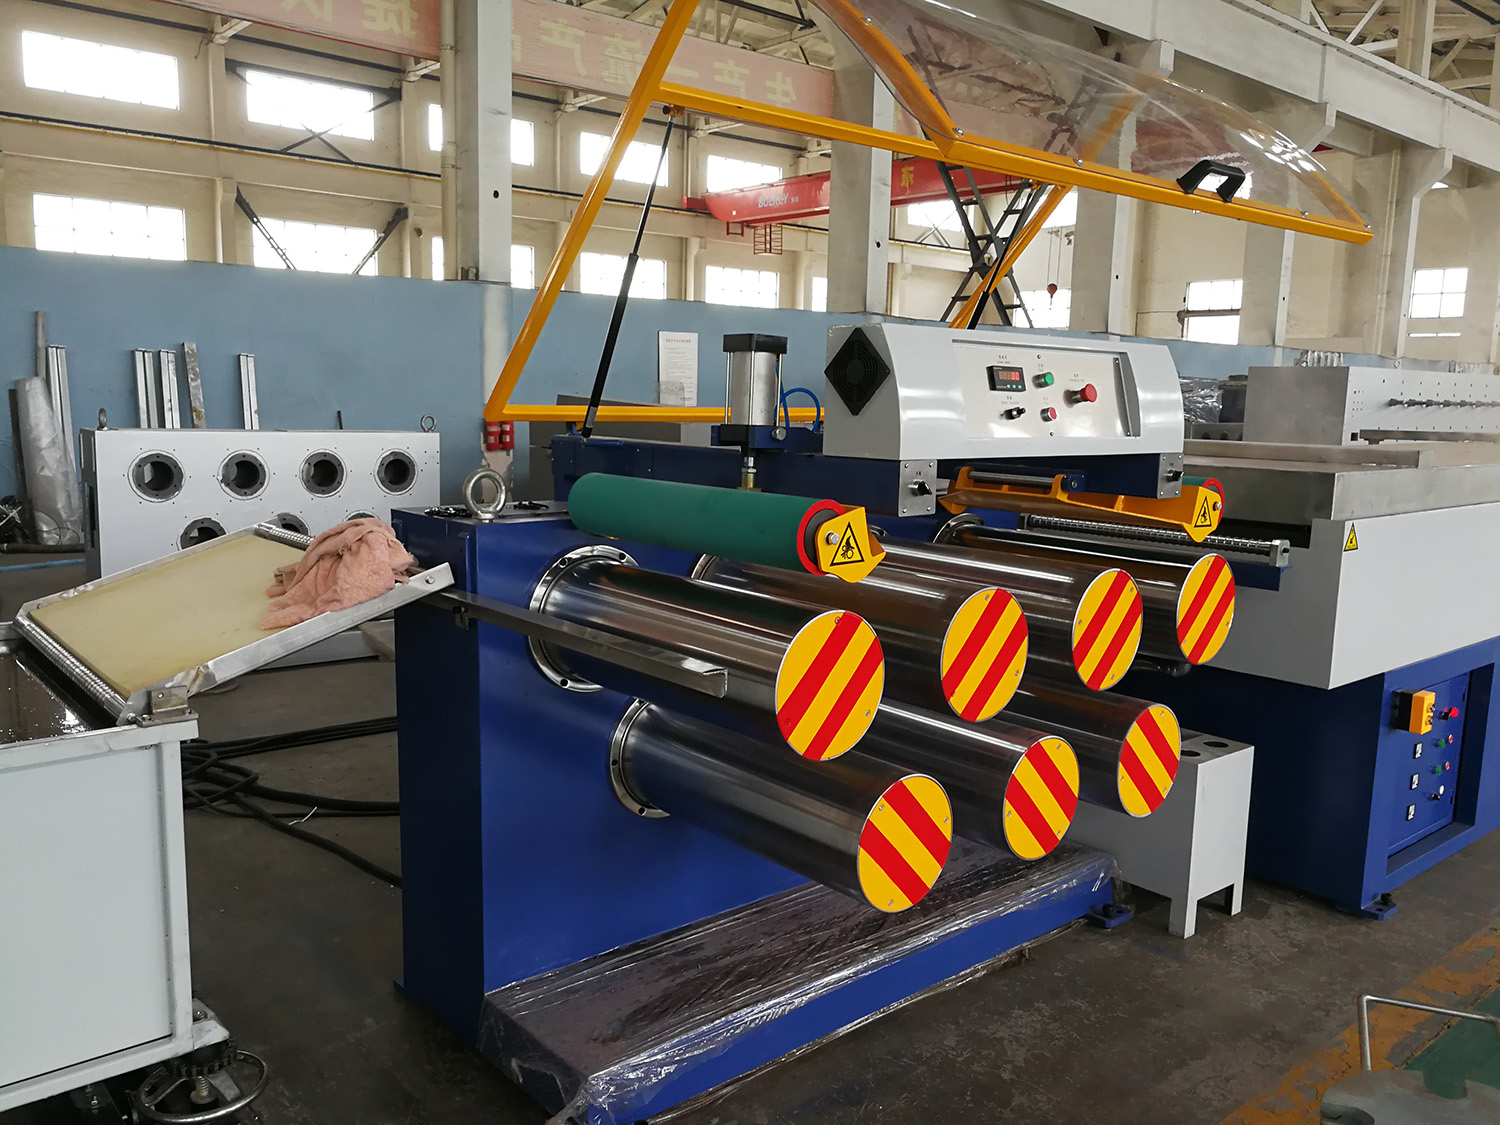
If you want higher output from a plastic monofilament line, turning up screw RPM is the fastest way to create scrap.
On most monofilament systems, the real limit is downstream: quench cooling capacity, draw speed synchronization, tension control, and winding stability. Push speed past the stable window and you will see diameter drift, breaks, rough surface, and bad packages.
This article is written for consideration-stage readers who are comparing process fixes and upgrade options. It shows how to measure output correctly, find the real bottleneck, and raise throughput with controlled, verifiable changes.
Start with the numbers: what “output” means in production
Before you change anything, define what you’re improving and how you’ll accept the change.
Track three KPIs together:
Throughput: kg/h (or lb/h)
Line speed: m/min
Good output: kg/h inside your diameter tolerance, with acceptable surface finish and package build
If only kg/h goes up but scrap rises, you didn’t increase usable capacity.
Pro Tip: Use melt pressure trend, inline diameter trend, and zone tension trend as early-warning signals. When any of them starts oscillating, you are at the edge of stability.
How to increase monofilament extrusion line output: a bottleneck-first method
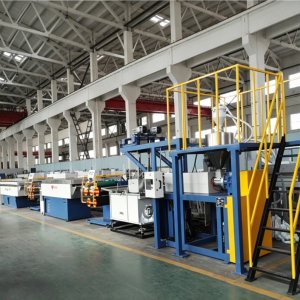
A practical way to stop guessing is to split the line into zones:
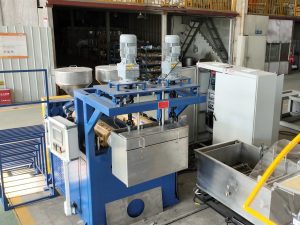
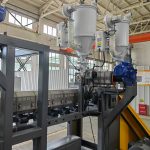
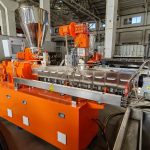
Melt delivery (feeding/drying, extrusion, filtration, metering)
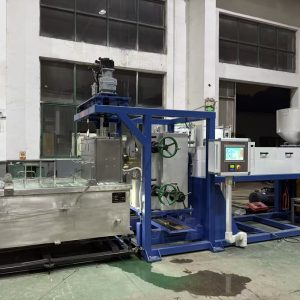
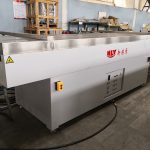
Shaping and cooling (die/spinneret, quench water bath)
Orientation (drawing/draw stages, draw ratio, draw speed synchronization)
Stabilization (annealing/heat-setting)
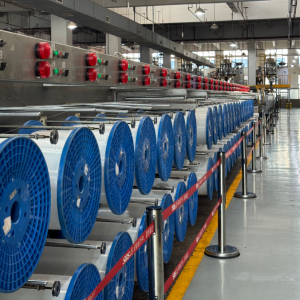
Take-up (winding, package build)
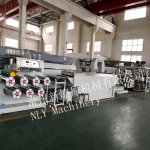
For a stage-by-stage reference that production and engineering can share, NLY’s overview of a monofilament extrusion line is a good vocabulary baseline.
The ramp-up rule that saves time
Increase output in small steps. At each step, verify five things:
Diameter stays inside tolerance (trend, not only spot checks)
Filament is solid enough after quench (no tackiness, no flattening marks)
Draw section stays stable (no necking, no frequent breaks)
Tension is steady zone-by-zone (no hunting or spikes)
Package build stays stable (no loose edges, no telescoping, consistent hardness)
Stop when the first one fails. That failure points to the true bottleneck.
Best practices by zone (with failure modes)
Below are the throughput levers that typically matter most on monofilament lines. Each one includes why it matters, how to apply it, and what breaks first if you push too hard.
1) Stabilize melt delivery before chasing speed
Why it matters
If your melt flow is surging, you can’t “tune” quench, drawing, and winding around it. Surging becomes diameter variation.
A review of polymer extrusion process modeling notes that increasing throughput via screw speed can reduce melt quality if melting and mixing capacity can’t keep up (PMC, 2020). The exact limits depend on your screw, resin, and temperature profile, but the trade-off is real.
How to implement
Hold a stable temperature profile (barrel zones plus die) and watch melt pressure trend.
Keep feeding consistent: moisture swings, bridging, and unstable regrind ratios show up as output pulsation.
Treat filtration and screen packs as throughput items, not only quality items.
What breaks first
Melt pressure oscillation
Diameter oscillation that tracks pressure
Surface roughness that appears in repeating bands
2) Don’t out-run your quench water bath
Why it matters
If the filament hits haul-off or draw entry too hot or too soft, you will see ovality, surface marks, or draw instability. When you increase line speed, residence time in the quench water bath drops immediately.
A simple throughput note from 3devo’s extrusion support content: raising screw speed increases output, but the challenge is cooling the output enough before it reaches the puller (3devo support). The principle translates well to monofilament.
How to implement
Keep quench water temperature and flow consistent.
Check bath entrance and flow path for turbulence and uneven cooling.
Inspect filament condition right after the bath, not only after winding.
What breaks first
Diameter drift that gets worse as speed increases
Ovality or flattening marks
Filament sticking together in multi-strand setups
⚠️ Warning: Tightening winding tension to “fix” diameter often masks a quench or draw synchronization problem. You may pay later with more breaks.
3) Treat drawing as a control problem: draw ratio + draw speed synchronization
Why it matters
Drawing is where orientation and many properties are set. It is also where speed mismatch becomes tension spikes.
NLY’s drawing machine guidance highlights that draw speed synchronization errors can show up as diameter variation and breakage, and it points to inline measurement (laser) as an early detection tool (plastic monofilament drawing machine guide).
How to implement
Use the minimum draw ratio that meets your product properties, then widen the window with better thermal control.
Verify speed synchronization across draw stages during acceleration and steady state.
Separate tension zones where possible (post-quench transport, draw, anneal entry, wind-up).
What breaks first
Draw breaks rising sharply after a speed increase
Necking during draw
Tension hunting even when setpoints look stable
4) Validate annealing/heat-setting at the new speed
Why it matters
Heat-setting can be the hidden limiter. If you increase speed without enough residence time, shrink and coil stability can drift and show up later.
How to implement
Confirm your annealing/heat-setting zone has enough residence time at the new line speed.
Validate with a simple post-process check: shrink/coil stability and repeatability between spools.
5) Winding stability sets your real maximum in daily production
Why it matters
Many lines can draw faster than they can wind with consistent tension and package hardness, especially as package diameter builds.
How to implement
Use constant-tension or taper-tension logic appropriate for your product.
Check package build at start, mid, and near full diameter.
When diameter problems appear, work upstream first (quench, draw sync, melt stability). Use winding tension to fine-tune package quality, not as your main diameter control.
Troubleshooting table: what changed when you pushed speed?
Symptom after speed increase | Most likely bottleneck zone | Quick checks | Practical fixes |
|---|---|---|---|
Diameter drifts and won’t settle | Quench/cooling or melt stability | Quench temperature/flow; melt pressure trend | Stabilize quench; tune temp profile; step back speed |
Ovality/flattening marks | Quench too warm/short; filament too soft | Filament shape right after bath; puller marks | Increase cooling capacity; improve flow distribution; reduce speed step |
Frequent breaks in draw section | Draw window or speed synchronization | Speed ratio stability; tension trend | Reduce draw ratio; improve sync/drive tuning; check rolls |
Surface roughness rises at higher rate | Die condition/temp or melt fracture | Die temperature uniformity; contamination/filtration | Clean/maintain die; tune temp profile; improve filtration |
Package telescopes or edges go loose | Winder/tension control | Tension vs spool diameter | Tune taper tension; review winder control; add tension sensing |
Upgrade checklist (what typically unlocks the next step)
If you are already near the stable limit, these upgrades usually add more usable headroom than “more RPM”:
Inline diameter monitoring (laser) with trend logging and alarms
Zone-based tension sensing/control
More controlled quench water bath (length, flow distribution, temperature stability)
Better synchronization and drive tuning across godets
Winder control upgrade for stable tension across package build
If you need a supplier-facing system view (and to avoid quoting a “machine” as if it were one unit), NLY’s overview of monofilament extrusion machine price cost factors can help align the discussion around the full line.
Next step: get a throughput plan tied to acceptance criteria
If you share your product range (diameter range, polymer family, target m/min, and the first symptom that appears when you push speed), you can build a practical plan: what to tune, what to measure, and what module to upgrade first.
Request a line configuration review plus a run sample/FAT plan from NLY, based on your target output and your acceptance checks for diameter stability, surface finish, and package build.