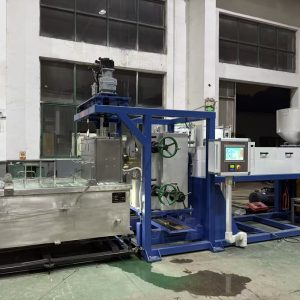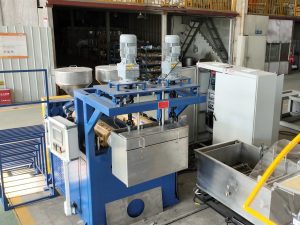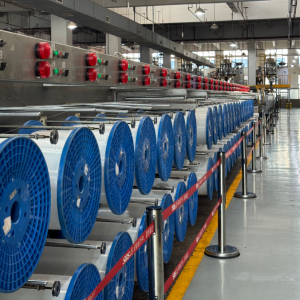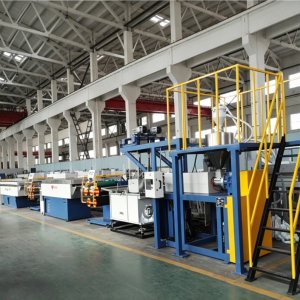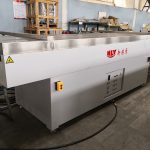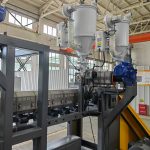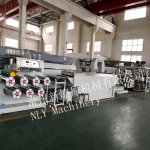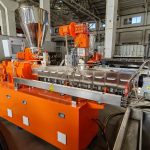
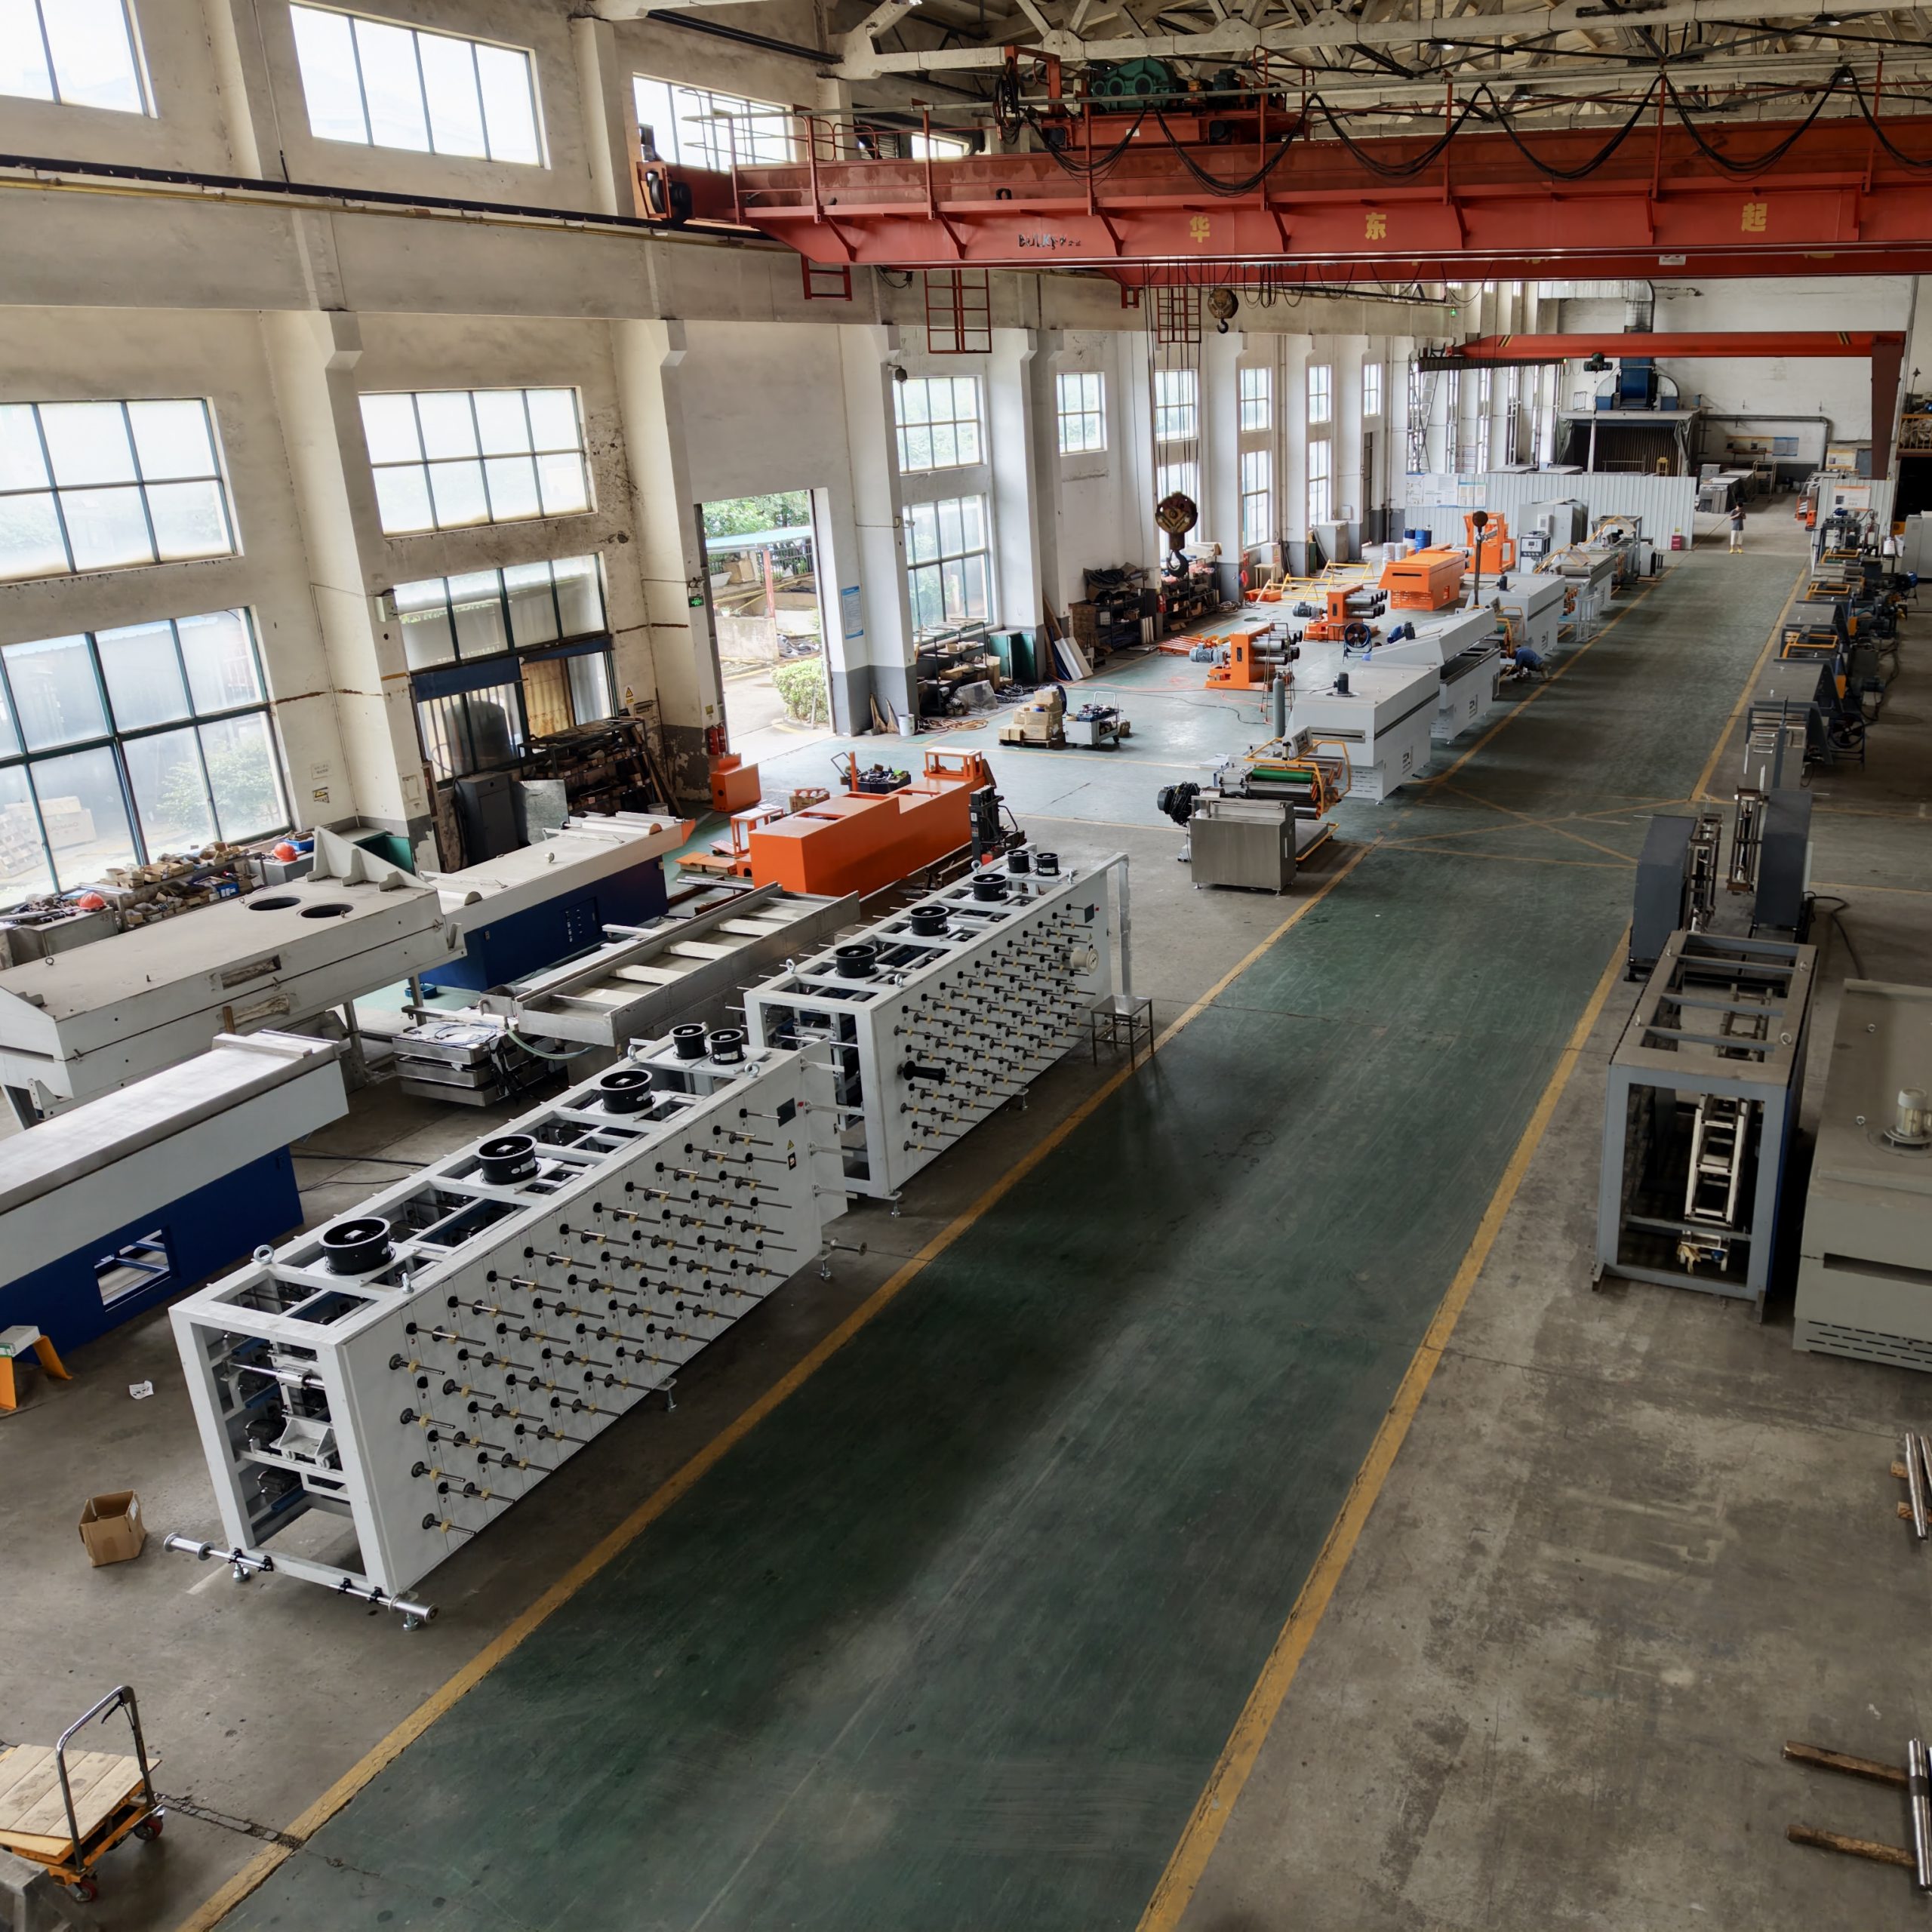
If you’re new to monofilament production, the process can look like a long row of machines with a lot of knobs. But the logic is simple: you’re turning polymer pellets into a stable melt, forming a filament through a die, locking in the shape in a quench bath, then using controlled drawing (stretching) and heat setting to hit the final diameter and mechanical properties.
This post walks through the monofilament extrusion process step by step, using the same “zone thinking” most experienced operators use to troubleshoot: melt delivery → forming/cooling → drawing → stabilization → take-up.
Monofilament extrusion process: step-by-step overview
A typical monofilament extrusion line flows like this:
material selection and handling
drying (when required)
extrusion + filtration + melt delivery to the die
die + monofilament cooling water bath (quench)
take-off/godets
monofilament drawing process (one or multiple stages)
annealing / heat setting
diameter monitoring (optional) + winding
A useful external reference for the general equipment layout is PLASCO’s monofilament extrusion process layout.
Step 1: Choose the polymer and define what “good” means
Monofilament is commonly produced from PP, PE (HDPE), PET, and PA (nylon). The equipment layout is similar, but the control priorities change.
PET and PA (nylon) are moisture-sensitive. Poor drying shows up as bubbles/voids, brittle filament, and unstable running.
PP/PE are generally less moisture-sensitive. Your stability problems are more often cooling uniformity, draw stability, and shrink/shape control.
Before you touch the line, define 3–4 acceptance checks that match your product:
diameter tolerance (and ovality if you measure it)
surface (smooth vs rough, gels/specks)
break frequency (especially in drawing)
shrink/coil stability after heat setting
Pro Tip: Don’t start by chasing a single “best” temperature or draw ratio. Start by agreeing on pass/fail checks, then tune one zone at a time.
Step 2: Drying and feeding (where PET/PA usually win or lose)
Drying is not a “nice to have” for hygroscopic polymers.
What this stage controls
bubbles/voids (from moisture turning to vapor)
polymer degradation risk (especially for PET)
run-to-run consistency
What to watch
dryer capacity vs actual throughput
resin exposure between dryer and hopper (open bins and long transfer lines undo drying)
discipline around regrind (if used): the same drying rules apply
If your filament has fine bubbles or looks foamy, start here before changing die, quench, or draw settings.
Step 3: Extrusion—melt, mix, filter, and deliver stable pressure
The extruder’s job in monofilament production is simple to state and hard to execute: deliver a clean, uniform melt at a stable temperature and pressure to the die.
Key terms (in plain language):
Hopper / feed throat: where pellets enter
Barrel + screw: melts and homogenizes polymer
Screen pack / screen changer: filters contamination and stabilizes flow
Melt pump (gear pump, optional): meters melt flow more steadily than screw-only output
What this stage controls
melt stability (pressure oscillation shows up downstream as diameter drift)
contamination risk (gels, specks, streaks)
temperature uniformity (surface finish and draw stability)
If you want a deeper look at the extruder section signals (pressure trends, motor load, temperature stability), see how a plastic monofilament extruder works.
Step 4: Die and quench bath—where diameter and roundness begin
After filtration/metering, melt flows through the die (spinneret) to form the filament. Immediately after that, the filament enters the quench water bath to solidify.
What this stage controls
initial filament shape and “as-spun” diameter
ovality / out-of-round risk
surface marks caused by turbulence or contact
What to watch
alignment from die to bath entry (a small misalignment becomes ovality)
water temperature stability and flow pattern (turbulence near the strand is not your friend)
consistent distance from die face to water surface (your line should be repeatable)
If you’re trying to stabilize diameter and ovality, treat the quench bath as a primary control zone. NLY’s note on the role of water bath cooling in monofilament production explains practical “first checks” that catch many cooling-related instability issues.
⚠️ Warning: Don’t compensate for an unstable quench by over-adjusting draw ratio or winding tension. Fix cooling stability first, then tune drawing.
Step 5: Take-off and godet rolls—controlled transport, not “just pulling”
After quenching, the filament is guided and transported by take-off and/or godet rolls.
What this stage controls
steady tension handoff into drawing
avoidance of snags, rubbing, or micro-slips that create surface defects
What to watch
consistent wrap and traction (slip causes diameter/tension hunting)
guide condition (sharp edges and dirty rollers leave marks)
stable speed control during ramps (startup and acceleration are where problems appear)
Step 6: Drawing—where final diameter and strength are made
Drawing is controlled stretching that orients polymer chains. This step is the reason monofilament can reach target strength and stiffness at a given diameter.
Key term:
Draw ratio: the speed ratio between draw stages (how much the filament is elongated in that span)
What this stage controls
final diameter (within the stability window)
tensile properties and consistency
break frequency (especially when the thermal window is wrong)
PP/PE vs PET/PA notes
PA (nylon) typically needs tighter thermal control in drawing.
PET can be sensitive to degradation if upstream drying is weak; that shows up downstream as unstable drawing and inconsistent properties.
For a practical explanation of speed ratios, traction, and why stable coordination matters across stages, see multi-stage draw ratio control for stable stretching.
Step 7: Annealing / heat setting—lock in stability and reduce shrinkage
After drawing, monofilament usually passes through an annealing / heat-setting zone (hot water tank or hot air oven), often under controlled tension.
What this stage controls
shrinkage and dimensional stability
curl/coil memory
repeatability between spools and shifts
What to watch
enough residence time at your real line speed
stable temperature (avoid cycling that creates property drift)
consistent tension entering and leaving the zone
Step 8: Diameter monitoring and winding—make a usable package
Before winding, many lines use a non-contact diameter check (often a laser gauge). Then the filament is wound with controlled tension and a consistent traverse.
What this stage controls
package build quality (telescoping, loose edges, crushed layers)
handling quality in downstream use
What to watch
tension stability during speed ramps and bobbin changeovers
traverse pattern consistency
don’t “fix” diameter here: winding is for package quality, not melt or quench instability
Fast troubleshooting: symptom → where to look first
Good monofilament extrusion troubleshooting starts with the zone that can physically create the defect.
Bubbles / voids → drying discipline, resin exposure, venting strategy
Diameter drift → melt pressure trend + feed stability, then quench stability, then draw speed synchronization
Ovality / out-of-round → die-to-bath alignment and quench flow/temperature uniformity
Specks / gels / streaks → contamination control, screen pack loading/tears, die deposits
Frequent breaks in drawing → draw thermal window, traction/slip, weak spots from moisture/contamination
For a more detailed symptom-first checklist, NLY’s key factors affecting plastic monofilament quality is a good next read.
Next steps
If you share four inputs—polymer (PP/PE/PET/PA), target diameter range, target output (kg/h), and your end-use (zipper/brush/net/rope)—we can map them into a practical line configuration and a basic startup checklist (drying discipline, filtration approach, quench control, draw stages).
To see equipment examples, you can browse monofilament extrusion machines from NLY.