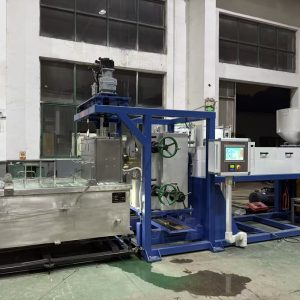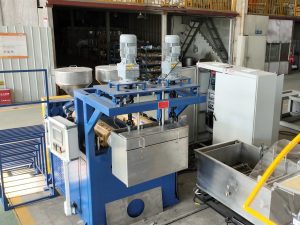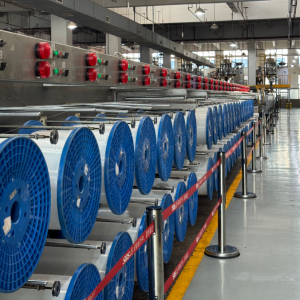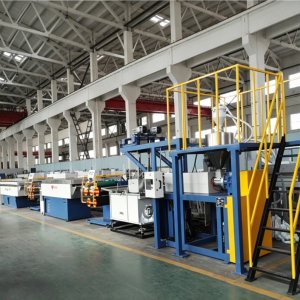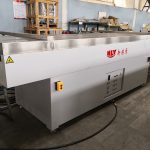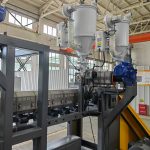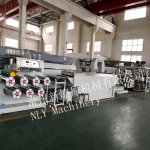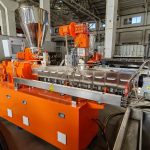
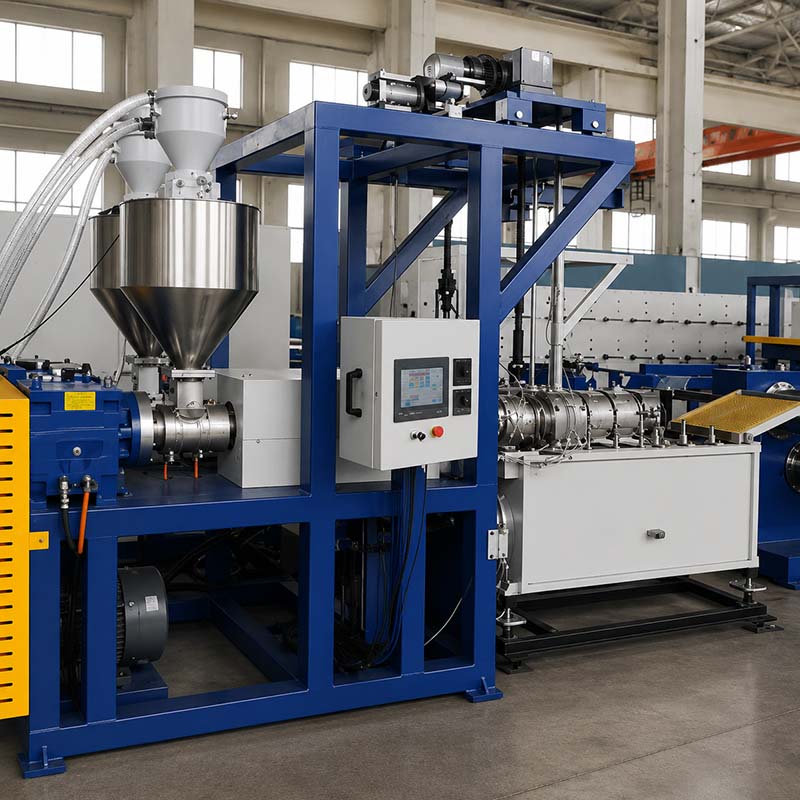
A PET monofilament extrusion “machine” is rarely one machine. It’s a line: drying + feeding → melt delivery → die + quench → drawing + heat setting → winding.
If you’re evaluating a PET monofilament extrusion line (sometimes quoted as a PET monofilament extruder + downstream drawing and winding) for a new installation or an upgrade, the fastest way to reduce scrap and commissioning time is to buy (and test) the line as a system—not as a list of parts.
Below is a practical buyer’s guide focused on what production teams care about: stable diameter and roundness, predictable mechanical properties, and low downtime.
This is also the core buying problem behind any PET monofilament extrusion machine RFQ: you’re not just buying equipment, you’re buying a stable process window.
PET monofilament extrusion machine selection: start with the end product
Most “machine comparison” conversations go wrong because the end product isn’t defined tightly enough.
Before RFQs, lock these down:
Define the product spec in production terms
Application (zipper, brush, net, braided conduit, etc.)
Diameter range + tolerance (and whether you measure ovality/out-of-round)
Surface requirement (smoothness, gels/specks, gloss)
Spool/bobbin requirements (package size, traverse pattern, unwind behavior)
Mechanical targets (stiffness/tenacity/elongation, and acceptable shrink after heat setting)
If you don’t define “good,” suppliers will optimize for what’s easiest to quote—often max output—rather than your stability window.
Pro tip: Treat diameter control as a ratio outcome: mass flow through the die vs take-off speed, then protect that ratio by stabilizing melt pressure, quench conditions, and draw speed synchronization.
Drying + feeding: the #1 PET-specific risk
PET is moisture-sensitive. Poor drying commonly shows up as bubbles/voids, brittle filament, and unstable running, which then cascades into diameter drift and breaks.
In practice, PET monofilament drying is not just “having a dryer”—it’s matching dryer capacity to real throughput, controlling dew point, and preventing resin from re-absorbing moisture between the dryer and hopper.
NLY summarizes the logic clearly in its step-by-step overview of the process, including why drying discipline matters for PET and how it presents when it’s wrong (see NLY’s “Monofilament Extrusion Process: Step by Step”).
If you need a full baseline walkthrough of the monofilament extrusion process (from drying through winding), NLY’s overview is a solid reference for aligning your team on terminology and process order.
What to specify
Dryer capacity at your real throughput (not nameplate)
Dew point control and monitoring (your operators need a measurable target)
Closed, disciplined transfer from dryer to hopper (long open transfer paths undo drying)
Rules for regrind (if used): same drying rules apply
What to ask the supplier
“What dryer size and residence time do you recommend at our kg/h?”
“How do you verify dew point and resin exposure control during a run?”
Extruder + melt delivery: stability beats peak output
For monofilament, the extruder’s job is “simple to state and hard to execute”: deliver a clean, uniform melt at stable pressure and temperature to the die.
If you want a clean mental model of what the PET monofilament extruder section controls (and what it doesn’t), start with NLY’s explainer focused on the extruder section only (see NLY’s plastic monofilament extruder working principle).
The buyer criteria that actually matter
Temperature stability under load (not just a controller brand)
Pressure stability (because oscillation often shows up as downstream diameter drift)
Wear-part plan for your resin and expected contamination level
Filtration and screen changing
Filtration is a first-order stability tool—especially if you run recycled content or contaminated feed.
MAAG’s overview of polymer filtration and screen changers is a good independent reference on why filtration quality affects downstream product quality.
Ask:
“What’s the screen change strategy at our throughput?”
“How do you prevent long scrap runs after a screen change or die cleaning?”
Die + quench: where diameter and roundness get locked in
Once the strand exits the die, your next job is to lock geometry before downstream tension stretches it unpredictably.
For a practical system view of the full chain, see NLY’s overview of how a monofilament extrusion line works.
Quench stability is not “strong cooling”
The goal isn’t to make the bath violent. The goal is repeatable, symmetric cooling.
If your plant fights ovality or surface marks, NLY’s troubleshooting logic is useful because it points you to verify quench stability before you blame winding (NLY’s guide to stable monofilament diameter).
What to specify
Water temperature control and real stability over time
Flow pattern near the strand (avoid turbulence right at the strand)
Stable water level and consistent die-to-water distance
Strand path alignment (small misalignment becomes ovality)
Drawing + heat setting: properties, shrink control, and runnability
Extrusion forms the strand; drawing creates the mechanical properties.
If you’re aligning internal stakeholders (engineering vs production), it helps to be explicit about the difference:
Extrusion controls melt quality and initial geometry.
Drawing controls orientation, strength/stiffness balance, and many break behaviors.
NLY’s explanation of the difference between extrusion and drawing in filament production is a clean reference for this boundary.
Buyer criteria
Can the line hold stable draw ratios at speed?
Are heating/cooling steps repeatable and recipe-driven?
Is there a heat-setting/annealing step to manage residual stress and shrink behavior?
An independent overview that matches the typical equipment chain (drying, melt delivery, quench bath, drawing, annealing, winding) is PLASCO’s process description.
Winding: package quality (don’t try to “fix” the process here)
Winding should build a stable package and protect the filament—not compensate for upstream instability.
If diameter is drifting, the fastest troubleshooting order is usually:
melt stability
quench stability
draw stability
winding tension and traverse
That logic is echoed across NLY’s stability-focused guidance (see NLY’s guide to stable monofilament diameter).
Buyer criteria
Speed stability during ramps and bobbin changeovers
Tension control logic (and how it’s measured)
Traverse pattern consistency
RFQ checklist: what to send so quotes are comparable
To reduce quote noise, send suppliers a short “inputs + outputs” spec.
Inputs (you provide)
Polymer: PET (virgin vs recycled %, additives if any)
Target diameter range + tolerance (and ovality requirement if measured)
Target stable output (kg/h) and planned run hours
Top defects you must eliminate (bubbles/voids, ovality, drift, breaks, surface marks)
Utilities and footprint constraints
Outputs (supplier must provide)
Proposed line configuration by module (drying, extruder, filtration, quench, draw stages, heat setting, winder)
Commissioning plan + training deliverables
Spares list (recommended on-hand) and service response model
For a structured stage-by-stage evaluation checklist, see NLY’s selection checklist for monofilament extrusion machines.
FAT / acceptance checks: define “good” in a way you can measure
Don’t wait until installation to decide what “pass” means.
A simple acceptance checklist for PET monofilament can include:
Diameter tolerance (and ovality if you measure it)
Surface quality (gels/specks/streaks)
Break frequency (especially in drawing)
Shrink/coil stability after heat setting
NLY recommends defining acceptance checks early and tuning the line as a system (see NLY’s “Monofilament Extrusion Process: Step by Step”).
Next steps
If you share four inputs—(1) application, (2) diameter range + tolerance, (3) target stable output (kg/h), and (4) virgin vs recycled PET—we can map them into a stability-first line configuration and a practical FAT checklist.
For a starting point on turnkey monofilament solutions and related technical resources, see NLY.