If you’re running PET zipper monofilament and fighting frequent breaks, it’s tempting to start turning knobs—draw ratio, winder tension, water temperature—until something “seems better.”
That approach usually costs time and material because breaks are often a downstream symptom of an upstream instability.
This post gives you a practical way to think about PET monofilament breakage:
what typically causes weak spots in PET monofilament
how to narrow down where the break is actually happening (even when you’re not sure)
a troubleshooting order that reduces trial-and-error
Start with the “where is it breaking?” test (even when you’re not sure)
On a monofilament extrusion line, a strand can “break” in multiple ways:
It breaks in-line (you see a line stop and the strand snaps)
It breaks after winding (the package looks fine, but the filament snaps during rewinding or downstream use)
It breaks randomly during drawing (often the hardest to diagnose)
Before you change settings, do three quick checks.
Check 1: Is it a clean snap, or a drawn-out necking failure?
A clean, brittle snap often points to a material weakness (PET hydrolysis from moisture, contamination/gels, thermal degradation).
Necking (the filament thins/whitens before failure) often points to a process-window issue in drawing (temperature window, draw ratio staging, traction).
Check 2: Do you see diameter “hunting” before breaks?
If your diameter (or tension) looks like it’s cycling up/down, treat that as a stability problem, not a “winder tension” problem.
A useful mental model is to troubleshoot in this order: melt → quench → draw → winding. NLY uses this same upstream-first sequence in its process stability framework (see NLY’s guide to stable diameter in monofilament production).
Check 3: Are breaks shift-dependent or material-lot-dependent?
Shift-dependent failures often point to SOP drift: different start-up, different cleaning discipline, different tension adjustments.
Lot-dependent failures often point to resin moisture, contamination, or IV variation.
Pro Tip: If you can’t see the break zone, don’t guess. Log the time and immediately record melt pressure trend, quench water temperature, draw section speed ratios, and winder tension. The trend is often more diagnostic than a single value.
PET-specific root cause: moisture, hydrolysis, and “invisible weakness”
PET is hygroscopic. If PET resin carries too much moisture into the melt, hydrolysis breaks polymer chains, reducing molecular weight (often tracked as IV loss). The strand may still look “normal,” but it becomes more brittle and can break under draw tension.
Multiple extrusion references converge on a practical target: PET is commonly dried to below about 50 ppm (0.005%) moisture before extrusion to reduce hydrolysis risk ).
What it looks like on the line
PET moisture problems often show up as:
frequent breaks that don’t “respond” to reasonable draw/winder adjustments
brittleness complaints even when diameter looks acceptable
more breaks after material changeovers or after the dryer was offline
What to check (fast)
Confirm the dryer is truly doing its job (dew point and residence time matter more than a single temperature display).
Verify pellet handling: open hoppers, long exposure to humid air, or poor bin sealing can negate drying.
If you have it: use moisture measurement rather than guessing.
⚠️ Warning: Drying can remove moisture, but it can’t reverse chain scission that already happened in the melt. If a lot is severely degraded, you can sometimes stabilize the process only by switching material.
Melt delivery problems that create weak spots
“Melt delivery” is everything from feeding through the screw, through filtration, to a stable melt entering the die.
When melt delivery is unstable, the strand often contains thin spots, gels, or strength variation that later become break points in the draw section.
1) Melt pressure drift and filtration loading
Screen packs and melt filters do their job—until they load up. As differential pressure rises, your melt delivery can drift.
Two practical realities:
Gradual screen loading can slowly change pressure and output.
Screen changes can create a short instability window (pressure fluctuations) if the system isn’t designed/managed for continuous stability.
For a clear overview of filtration-related pressure fluctuation mechanisms, see Plastics Technology’s notes on pressure fluctuations in melt filtration (2020).
What to do
Track melt pressure trend (not just the current number).
If breaks appear “random,” check whether they correlate with filter events, pressure oscillations, or temperature control cycling.
2) Temperature control cycling (“hunting”)
Even small temperature swings can shift viscosity, which shifts diameter and draw behavior.
What to do
Look for controller cycling patterns during steady production.
If your process requires frequent manual corrections, treat that as a sign that stability loops aren’t locked.
Quench problems that lock in ovality and stress
The quench (cooling water bath) sets geometry and thermal history. If the strand is cooled asymmetrically or turbulently, you can lock in:
ovality (out-of-round)
internal stress gradients
inconsistent draw response
NLY’s downstream process overview highlights a key warning: don’t try to “fix” quench-driven ovality by cranking draw ratio.
Common quench failure modes
unstable water temperature over time
inconsistent water level
turbulence near one side of the strand
off-center strand path or strand touching guides while still soft
What to do (in order)
Confirm actual water temperature stability over time.
Keep water level consistent.
Remove turbulence sources near the strand.
Verify the strand path is centered and not contacting surfaces.
PET monofilament breakage in drawing: the most common causes
“Drawing” is where you stretch the solidified strand by controlled speed ratios between rollers (often called godets). The draw ratio is effectively the downstream speed divided by upstream speed.
If you want a clear refresher on how drawing differs from extrusion in a filament line, see NLY’s overview of the cooling, stretching, and winding process.
1) Draw ratio too aggressive for the current strand quality
If upstream quality drifted (moisture, contamination, quench ovality), the same draw ratio that worked yesterday can start breaking today.
What it looks like
breaks cluster in the draw section
you see necking or whitening before snap
What to do
Reduce draw stress temporarily to regain stability.
Then go upstream to find why the strand quality changed (drying, melt stability, quench symmetry).
2) Wrong temperature window in the draw/heat-setting zones
If the strand is too cold, it can behave brittle under draw stress. If it’s too hot, it may relax and then behave inconsistently downstream.
What to do
Don’t change multiple draw-zone temperatures at once. Change one variable, then observe diameter and break frequency.
3) Traction/slip on rollers (effective draw ratio is not the set ratio)
Even if your setpoints are correct, roller slip changes the effective draw ratio.
One practical cause: water carryover after quench changes friction, which makes traction less repeatable. NLY calls out surface water removal after quench as important to avoid traction variability (summarized in How a continuous filament extrusion process produces “yarn”).
What to do
Ensure consistent surface water removal before traction-critical rollers.
Inspect roller surface condition and cleanliness.
Watch for tension oscillation (“hunting”) as a symptom of effective ratio instability.
Winding problems: tension, traverse, and package build
Winding is the last stability loop. It can cause breaks, but it also amplifies upstream problems.
Common winding-related break triggers
tension set too high while strand is still warm/soft
tension control hunting
traverse issues creating package defects that later cause snap during unwinding
What to do
Treat winding as a finishing control, not a diameter-fixing tool.
If you see hunting, go upstream first (melt/quench/draw) before tightening tension.
A practical logging checklist (what to record per shift)
If you want fewer “mystery” breaks, record the same handful of signals every shift. It’s a small discipline that usually pays back quickly.
Material: resin grade, lot, and drying time (plus dew point if available)
Melt: pressure trend, temperature stability, any filter events
Quench: water temperature trend, water level, any turbulence notes
Draw: speed ratios (actual vs set), draw-zone temperature, traction notes
Winding: tension mode/logic, tension trend, traverse notes
Key Takeaway: Most breakage troubleshooting is faster when you treat the line as a coupled system. Fix stability upstream first; tune winding last.
Next steps
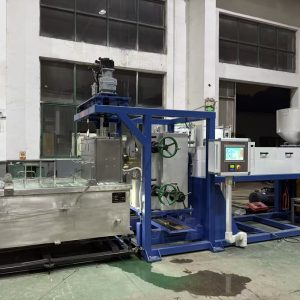
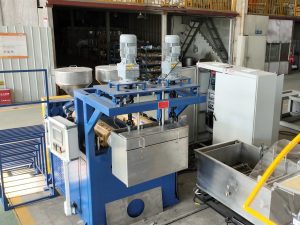
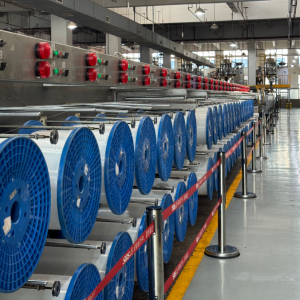
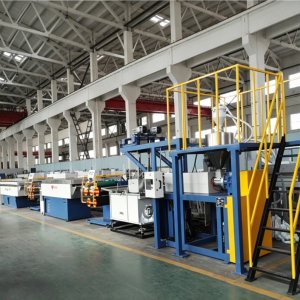
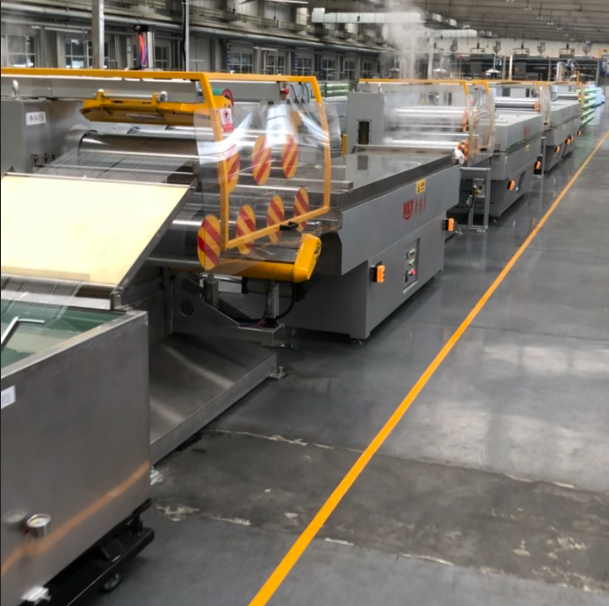
If you’re seeing frequent PET zipper monofilament breaks and you want a faster root-cause isolation plan, NLY (Changzhou New Liaoyuan Machinery) can help you build a process-focused checklist for your specific line layout (drying → extrusion/filtration → quench → drawing → heat-setting → winding).
A good starting point is to share:
polymer (PET) and target diameter range
where breaks seem to cluster (if known)
current line configuration and main components
You can also review this related guide first: